10 Creative DIY Wall Art Ideas to Personalize Your Space
When it comes to making your home feel truly yours, nothing adds a personal touch like DIY wall art. These creative DIY projects can transform any blank wall into a captivating masterpiece, while also showcasing your style and personality. Whether you prefer something simple or artsy, this guide will help you turn your walls into a visual feast.

Why DIY Wall Art is the Perfect Choice for Your Home
Creating your own DIY wall art has several benefits that go beyond just decorating your space. Here’s why DIY wall art is the perfect way to personalize your home:
- Cost-Effective: You don’t have to spend a fortune on expensive art pieces. DIY allows you to craft something that fits both your style and budget.
- Unique Expression: By making your own art, you can create something that no one else has. It’s a true reflection of your personality.
- Memories in the Making: DIY projects can be fun for family and friends. Making art together is not just about the end result, but also about the memories created during the process.
Save Money While Being Creative
One of the greatest benefits of DIY wall art is the ability to save money while still achieving stunning results. Unlike mass-produced art found in stores, DIY allows you to make budget-friendly pieces that look expensive but are made with simple materials.
“”Art enables us to find ourselves and lose ourselves at the same time.”” — Thomas Merton
1. Framed Fabric Art
Framed fabric art is a simple, yet impactful way to add a splash of color and pattern to your walls. With just a few materials, you can create a beautiful piece that stands out. This project works especially well if you love mixing textures or have leftover fabric from other home decor projects.
Materials Needed:
- Fabric pieces (choose colors or patterns that complement your room)
- Picture frames
- Scissors
- Adhesive spray
Step-by-Step Instructions:
- Choose your fabric: Opt for bold patterns or soft textures depending on the vibe you want to achieve.
- Cut the fabric: Cut the fabric to fit inside your frames, making sure there’s enough material to wrap around the edges.
- Frame it: Place the fabric in the frame, smooth it out, and secure the back.
By using different fabrics, you can create an art gallery wall full of textures and colors that bring your space to life.
Personalization Tip: Try using fabrics that have sentimental value, like pieces of an old blanket or a favorite shirt.
2. Painted Geometric Shapes

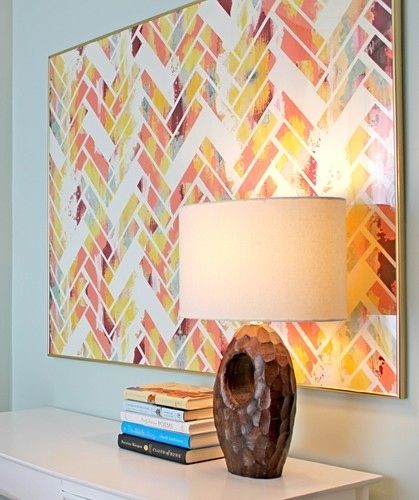
For a modern, minimalist look, geometric wall art can add bold visual interest to any space. It’s perfect for those who love clean lines and enjoy working with contrasting colors.
Materials Needed:
- Painter’s tape
- Paint (choose two or three complementary colors)
- Brushes
- Measuring tape
Step-by-Step Instructions:
- Tape off your design: Use painter’s tape to create geometric shapes on your wall. Triangles, diamonds, or squares work well.
- Paint: Fill in the taped sections with your selected colors.
- Peel and reveal: Once the paint is dry, carefully remove the tape to reveal sharp, clean lines.
This type of wall art is great for accent walls or creating a focal point in a room. Plus, you can easily match the colors to your existing decor for a cohesive look.
Color Suggestions: For a sophisticated, modern look, try using neutral tones like gray, white, and black. Or, if you want something more playful, go for bright, bold colors like yellow or turquoise.
3. Macrame Wall Hanging

Nothing says bohemian chic like a beautifully crafted macrame wall hanging. This project may seem complicated, but even beginners can master it with a little practice. Not only does macrame add texture to your walls, but it also creates a relaxing atmosphere with its natural, woven designs.
Materials Needed:
- Macrame cord
- Wooden dowel
- Scissors
- Patience (it takes time but is worth it!)
Step-by-Step Instructions:
- Learn basic knots: Familiarize yourself with a few basic macrame knots, like the square knot and the half-hitch.
- Start knotting: Begin by tying your cords to the wooden dowel and then follow a pattern or freeform design.
- Trim and hang: Once you’ve completed your design, trim the ends of the cords to your desired length and hang your masterpiece.
Customization Ideas: You can add beads or dip-dye the ends of your cords for a more personalized touch.
This macrame wall hanging can easily fit into bohemian, modern, or rustic interiors, and it’s a great way to bring a sense of calm and nature into your home.
4. DIY Canvas Art
Creating your own canvas art can be as simple or complex as you want. Whether you’re an experienced painter or a beginner, DIY canvas art gives you the chance to explore different styles and unleash your inner artist.
Materials Needed:
- Blank canvas
- Acrylic paint
- Paintbrushes
Step-by-Step Instructions:
- Plan your design: Decide whether you want to create an abstract piece, a landscape, or even a quote in fancy lettering.
- Paint your masterpiece: Start painting! Don’t worry about perfection—sometimes the best art comes from imperfect strokes.
- Let it dry and hang: Once your canvas is dry, it’s ready to hang on the wall.
Design Inspiration: Try using a combination of colors that match your room’s theme, or opt for a bold abstract art piece that becomes the focal point of your space.

Internal Link: If you’re looking for more art ideas, check out our guide on Easy DIY Craft Projects.
External Link: For more painting tips, visit this artist’s resource for beginners.
5. DIY Floating Shelves for Art Displays
Floating shelves are not only functional, but they also offer a stylish way to display smaller art pieces, plants, or decorative items. They add dimension to your walls and can be used to curate a rotating gallery of personal treasures.
Materials Needed:
- Wooden boards
- Brackets
- Drill and screws
Step-by-Step Instructions:
- Measure and cut: Cut your wood boards to the desired length.
- Install brackets: Use a drill to install the brackets on the wall.
- Mount the shelves: Secure the boards to the brackets and start decorating.
Styling Tips: Use your floating shelves to showcase a mix of framed art, small plants, and sculptures for a dynamic, curated look.
This is just the beginning! With these 5 creative DIY wall art ideas, you’ve already got the foundation for transforming your home into a personalized haven. Keep reading for more innovative ways to express your style and add beauty to your space.
6. DIY Paper Wall Art
Paper wall art is an inexpensive yet high-impact way to decorate any room. Whether you want to create a sophisticated look with folded paper techniques or playful designs with cutouts, paper wall art offers endless possibilities. You can even recycle old magazines or newspapers for an eco-friendly twist.

Materials Needed:
- Colored paper or cardstock
- Scissors or craft knife
- Glue or double-sided tape
Step-by-Step Instructions:
- Choose your design: Decide if you want geometric shapes, floral designs, or abstract cutouts. You can search for templates online or freehand your design.
- Cut and fold: Carefully cut out the shapes, fold them if necessary, and arrange them in a pattern that suits your wall space.
- Attach to the wall: Use glue or double-sided tape to adhere your paper art to the wall. Make sure the shapes are evenly spaced.
Tip: To give your paper art a 3D effect, gently fold the edges of the paper before attaching them to the wall. This technique will create shadows and add depth and dimension.
7. Wall Stenciling
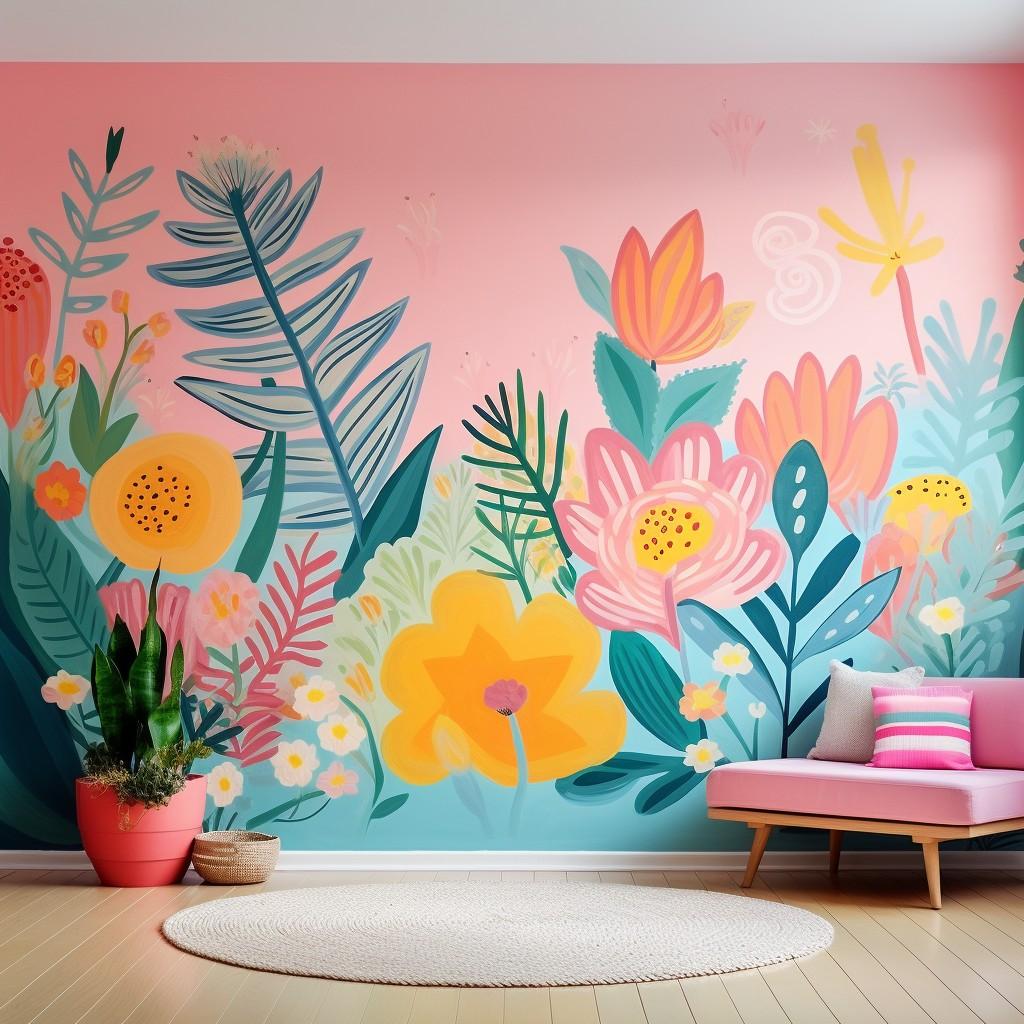
Stenciling is an easy way to create a custom wall design without having to be an expert painter. Stencils offer precise patterns, allowing you to achieve professional-looking results. Whether you want a small accent or a full wall transformation, stenciling can be tailored to your skill level and design preferences.
Materials Needed:
- Wall stencil (available at most craft stores or online)
- Paint
- Stencil brush or roller
- Painter’s tape
Step-by-Step Instructions:
- Prepare the wall: Make sure the wall is clean and dry before starting.
- Secure the stencil: Use painter’s tape to secure the stencil on the wall.
- Paint: Apply paint using a stencil brush or roller, making sure to use light pressure to avoid smudging.
- Repeat: Move the stencil to create a repeating pattern or use different designs to create variety.
External Resource: For more stenciling ideas, check out this DIY stencil guide that’s full of inspiration and tips.
Internal Link: Learn more about easy home decor DIYs on our Creative Home Projects page.
8. DIY Wall Collage
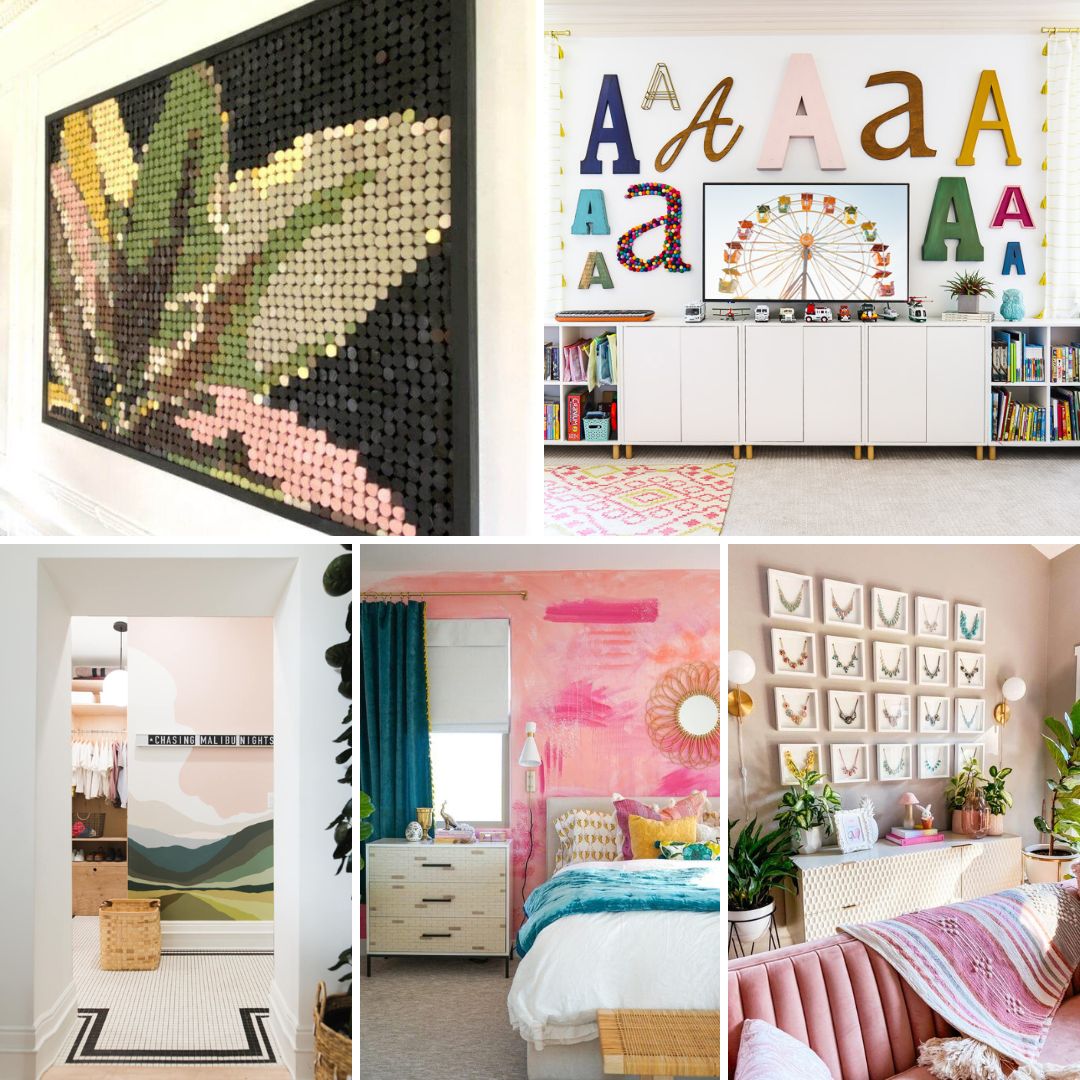
A wall collage allows you to combine multiple forms of art—photos, prints, quotes, and small trinkets—into one cohesive display. Collages are highly customizable and can tell a personal story. This project is perfect for creating a memory wall full of your favorite moments.

Materials Needed:
- Collection of photos, postcards, and prints
- Washi tape or poster strips
- Scissors
Step-by-Step Instructions:
- Plan your layout: Before attaching anything to the wall, arrange your collage on the floor to get a sense of how it will look.
- Stick it on: Use washi tape or poster strips to avoid damaging your walls.
- Personalize: Add some 3D elements like small trinkets or decorative items to bring the collage to life.
Pro Tip: For a cohesive look, choose photos or prints that share a similar color palette or theme. You can also mix in art prints for a professional touch.
9. DIY Nature-Inspired Wall Art
If you love the outdoors, why not bring a bit of nature inside? Nature-inspired wall art adds a calming, earthy feel to your space. From dried flowers to branches and leaves, these natural elements can create stunning, organic artwork.
Materials Needed:
- Dried flowers, leaves, or branches
- Frames or shadow boxes
- Hot glue gun
Step-by-Step Instructions:
- Collect your materials: Go for a walk and collect natural items like leaves, flowers, or branches.
- Frame it: Arrange your natural elements in a frame or shadow box. You can glue them down for more secure placement.
- Hang it up: Mount your nature-inspired art on the wall to bring the outside in.

Sustainability Tip: Using natural materials from your own environment not only adds a personal touch but also supports eco-friendly decorating practices.
10. Painted Wall Quotes
There’s nothing more inspiring than seeing your favorite quote or phrase on the wall every day. Painted wall quotes are a simple yet powerful way to add motivation and positivity to any room. You can choose a handwritten look or use stencils for clean, crisp lines.
Materials Needed:
- Wall quote stencil or freehand
- Paint and brushes
- Painter’s tape
Step-by-Step Instructions:
- Choose your quote: Pick a phrase that resonates with you or fits the room’s atmosphere.
- Position the stencil: Secure the stencil on the wall using painter’s tape, or outline your freehand design with a pencil.
- Paint the quote: Carefully paint over the stencil or trace your freehand design.
Pro Tip: Pair your quote with other decor elements like framed photos or artwork to create a full wall vignette.
Frequently Asked Questions (FAQs)
What is the easiest DIY wall art project for beginners?
For beginners, framed fabric art is one of the easiest projects. It requires minimal materials, and you don’t need any special skills to achieve a beautiful result. You can use leftover fabric, which makes it both affordable and quick to put together.
How can I make my DIY wall art look professional?
To make your DIY wall art look professional, focus on clean lines and high-quality materials. For example, using painter’s tape when creating geometric designs ensures sharp, crisp edges. Additionally, framing your artwork elevates its look, making it feel more polished and gallery-worthy.
What are the best materials for DIY wall art?
Some of the best materials for DIY wall art include:
- Canvas: Perfect for painting and mixed-media projects.
- Wood: Ideal for signs, shelves, or rustic artwork.
- Paper: Great for cutouts, origami, or minimalist designs.
- Fabric: Adds texture and color, whether framed or hung as a tapestry.
How do I choose the right wall art for my home?
When choosing wall art, consider the overall style of your home. For modern spaces, geometric shapes and minimalistic designs work well. For a bohemian vibe, opt for macrame or nature-inspired art. It’s also important to choose colors that complement your room’s existing palette.
Start Your DIY Journey Today
Creating DIY wall art is a fun, affordable, and deeply rewarding way to personalize your home. Whether you’re a seasoned crafter or just starting, these creative projects can transform any room into a unique reflection of your style. Plus, you’ll enjoy the added satisfaction of knowing you made it yourself.
Internal Link: Explore more DIY projects and creative ideas on our Home Decor Inspiration page.
External Link: For more tutorials and inspiration, visit DIY Network.
With these 10 DIY wall art ideas, you’ll have no shortage of ways to bring creativity and personality to your home. What are you waiting for? Get started today and watch your walls come to life!